
The Complete Guide to Gravel Driveway Installation and Maintenance
Building a Driveway That Lasts
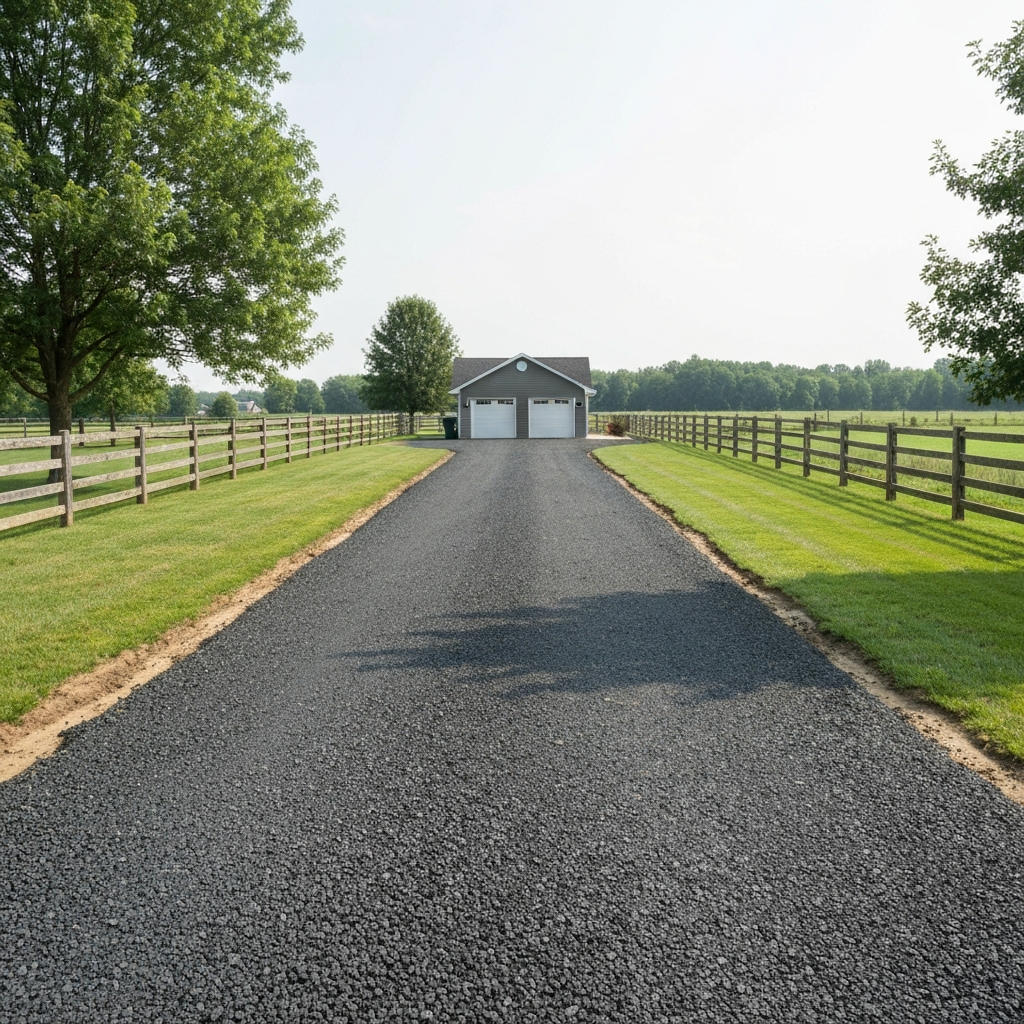
A well-built gravel driveway is durable, cost-effective, and perfectly suited for rural and suburban properties. However, simply dumping stone on dirt is a recipe for a muddy, rutted mess. Here is how a professional gravel driveway is constructed.
Step 1: The Sub-Base Preparation
The most important part of a driveway is what you don't see. We excavate down to solid subsoil, removing all organic material and soft topsoil. If the ground is particularly soft, a geotextile fabric may be laid down to prevent the new stone from sinking into the mud.
Step 2: The Base Layer
We install a thick layer of large, coarse crushed stone (often #3 or #4 stone). This layer provides structural integrity and allows for deep water drainage. This layer is heavily compacted.
Step 3: The Middle Layer
Next comes a layer of medium-sized crushed stone (like #2 stone). This locks into the larger base layer, adding stability and smoothing out the surface.
Step 4: The Top Course and Crowning
The final layer is a mixture of small stone and stone dust (often called crusher run or item 4). When compacted, the stone dust acts like cement, locking the surface together tightly. Crucially, we grade the driveway with a "crown" (higher in the middle, sloping to the sides) so water runs off into the ditches rather than pooling on the surface.
Maintenance Tips
Even the best driveways need occasional maintenance. Keep ditches clear of debris, fill potholes immediately before they grow, and plan for a light top-dressing of new crusher run every few years to keep the surface locked down.
Need Help With Your Next Project?
East Hill Excavation is your local expert for site prep, septic, drainage, and land clearing in the Finger Lakes region.